
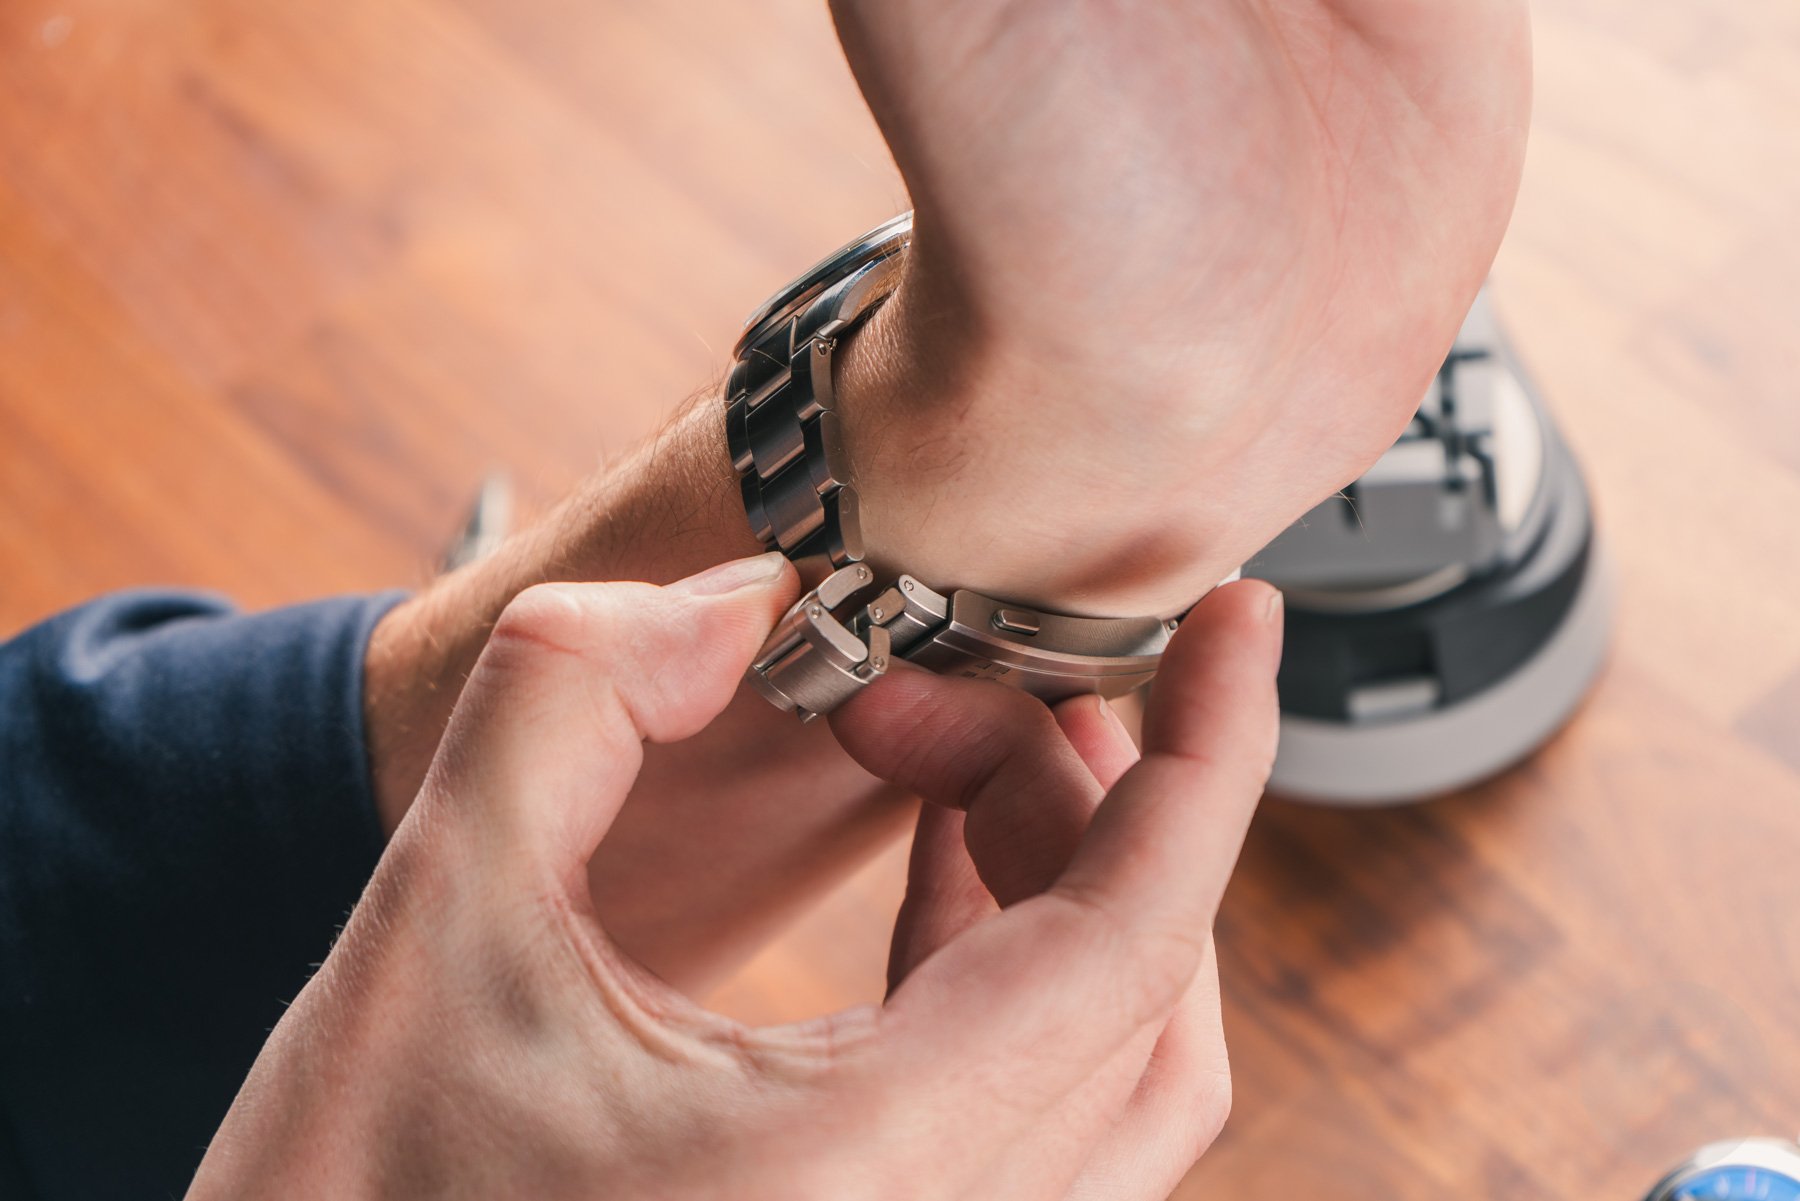
Back To Basics is a series aimed at newcomers with our lovely watch hobbies. In this article, we will explore bracelet sizing. Maybe you just got a new watch as a gift, or maybe you’ve ordered it online. Either way, you’re now holding an oversized watch bracelet in your hand and wondering how it will fit.
Well, don’t be afraid. Fratero is here! This article will explain the common types of bracelets and how to size them properly. Let’s jump in!
Common tips when trying to size a watch bracelet
Let’s start with some basic tips that apply to all bracelet types. Let’s start by knowing how many links to delete. The easiest way is to fold a piece of the bracelet onto yourself until you put on the watch and feel it feels comfortable to fit. Next, count the number of links that you folded into yourself. This is the number of links that you need to remove to enter the stadium.
Remove 4 links
So, where do you remove these links? Generally, you need to split the numbers on either side of the bracelet. However, for most people, it is more comfortable to bring the clasp a little closer to the 6 o’clock side of the watch. So, if you need to remove five links, the best bet is to remove three from the bottom (6 o’clock) bracelet segment and three from the other half.
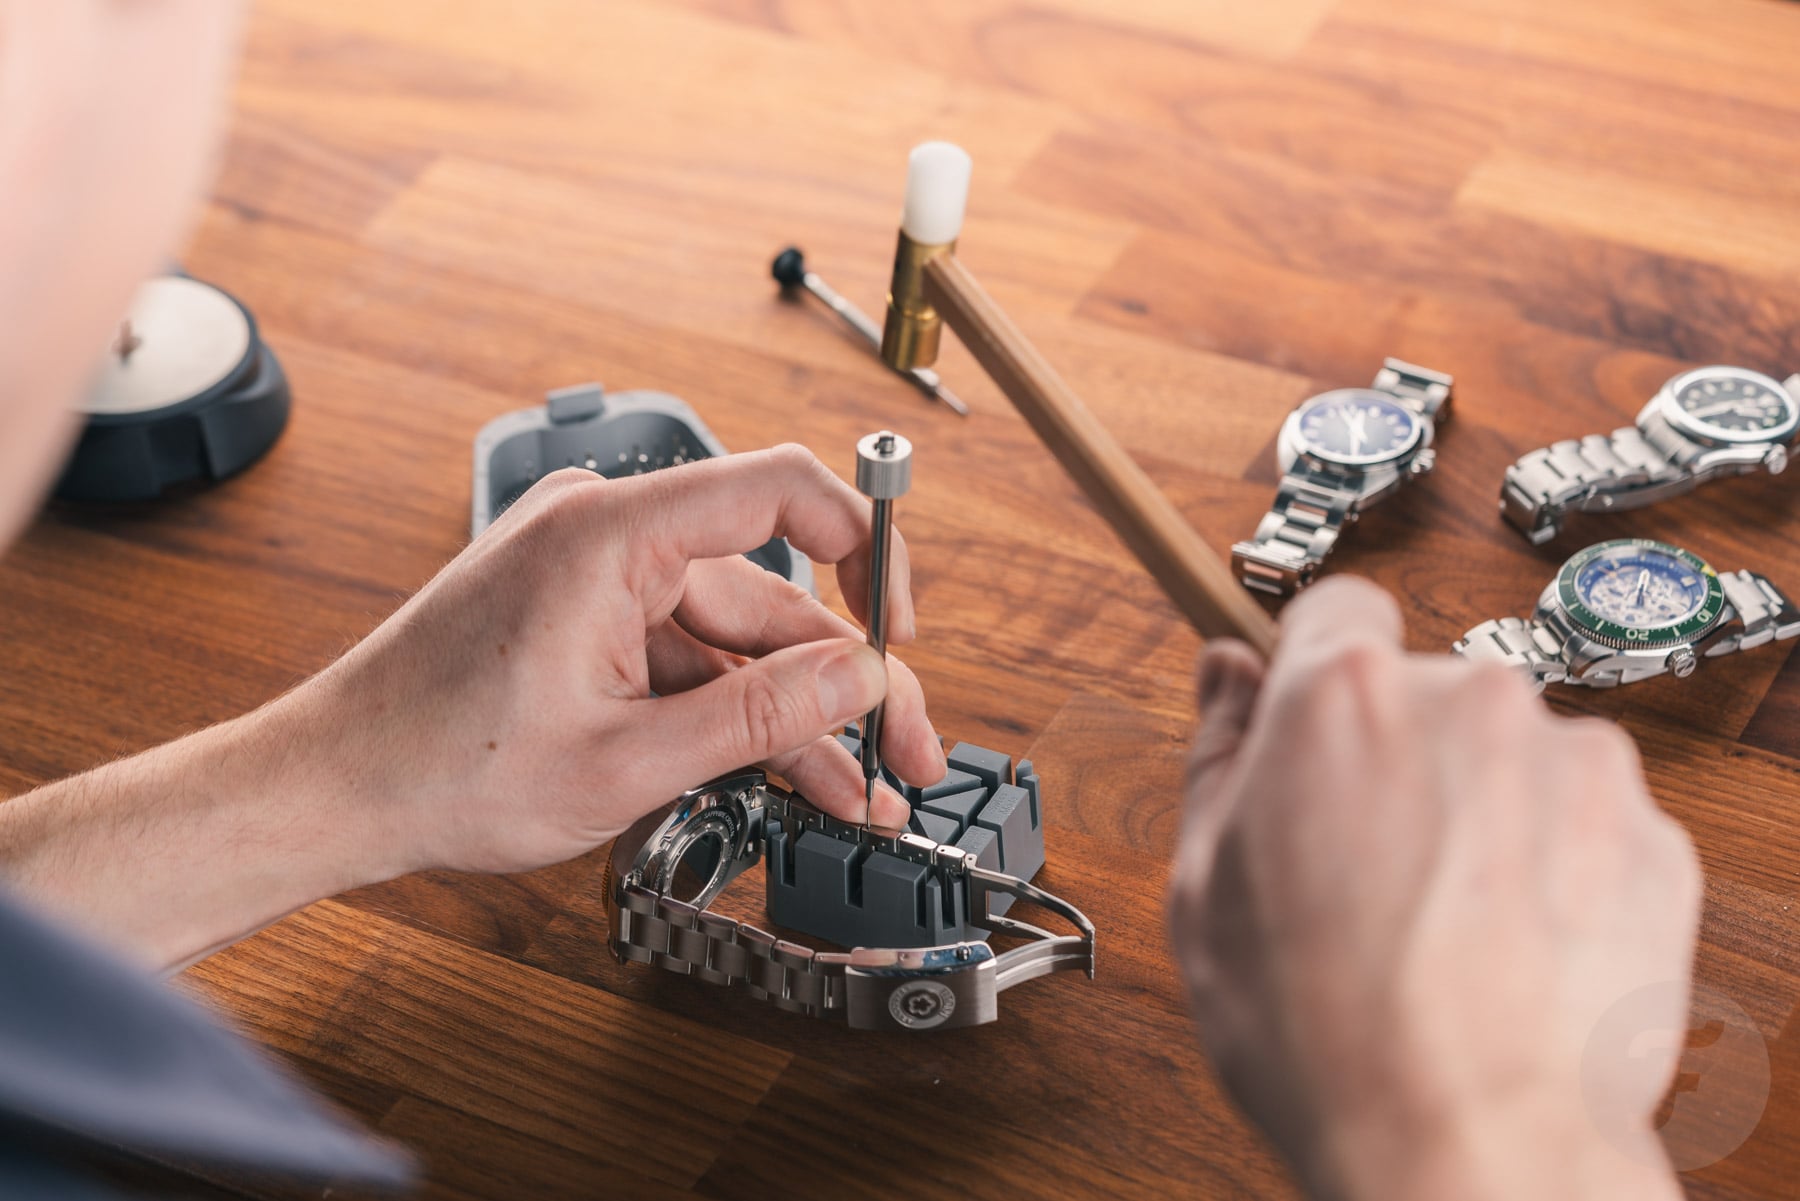
Next, if the clasp has any kind of fine-tuning mechanism, set it to the center position. This way, if you remove the link, you will benefit from the possibility of setting the bracelet tighter or looser. Finally, work on a solid surface such as a desk and always rest your hands and bracelet. Shenangans in the air are nothing good anywhere.
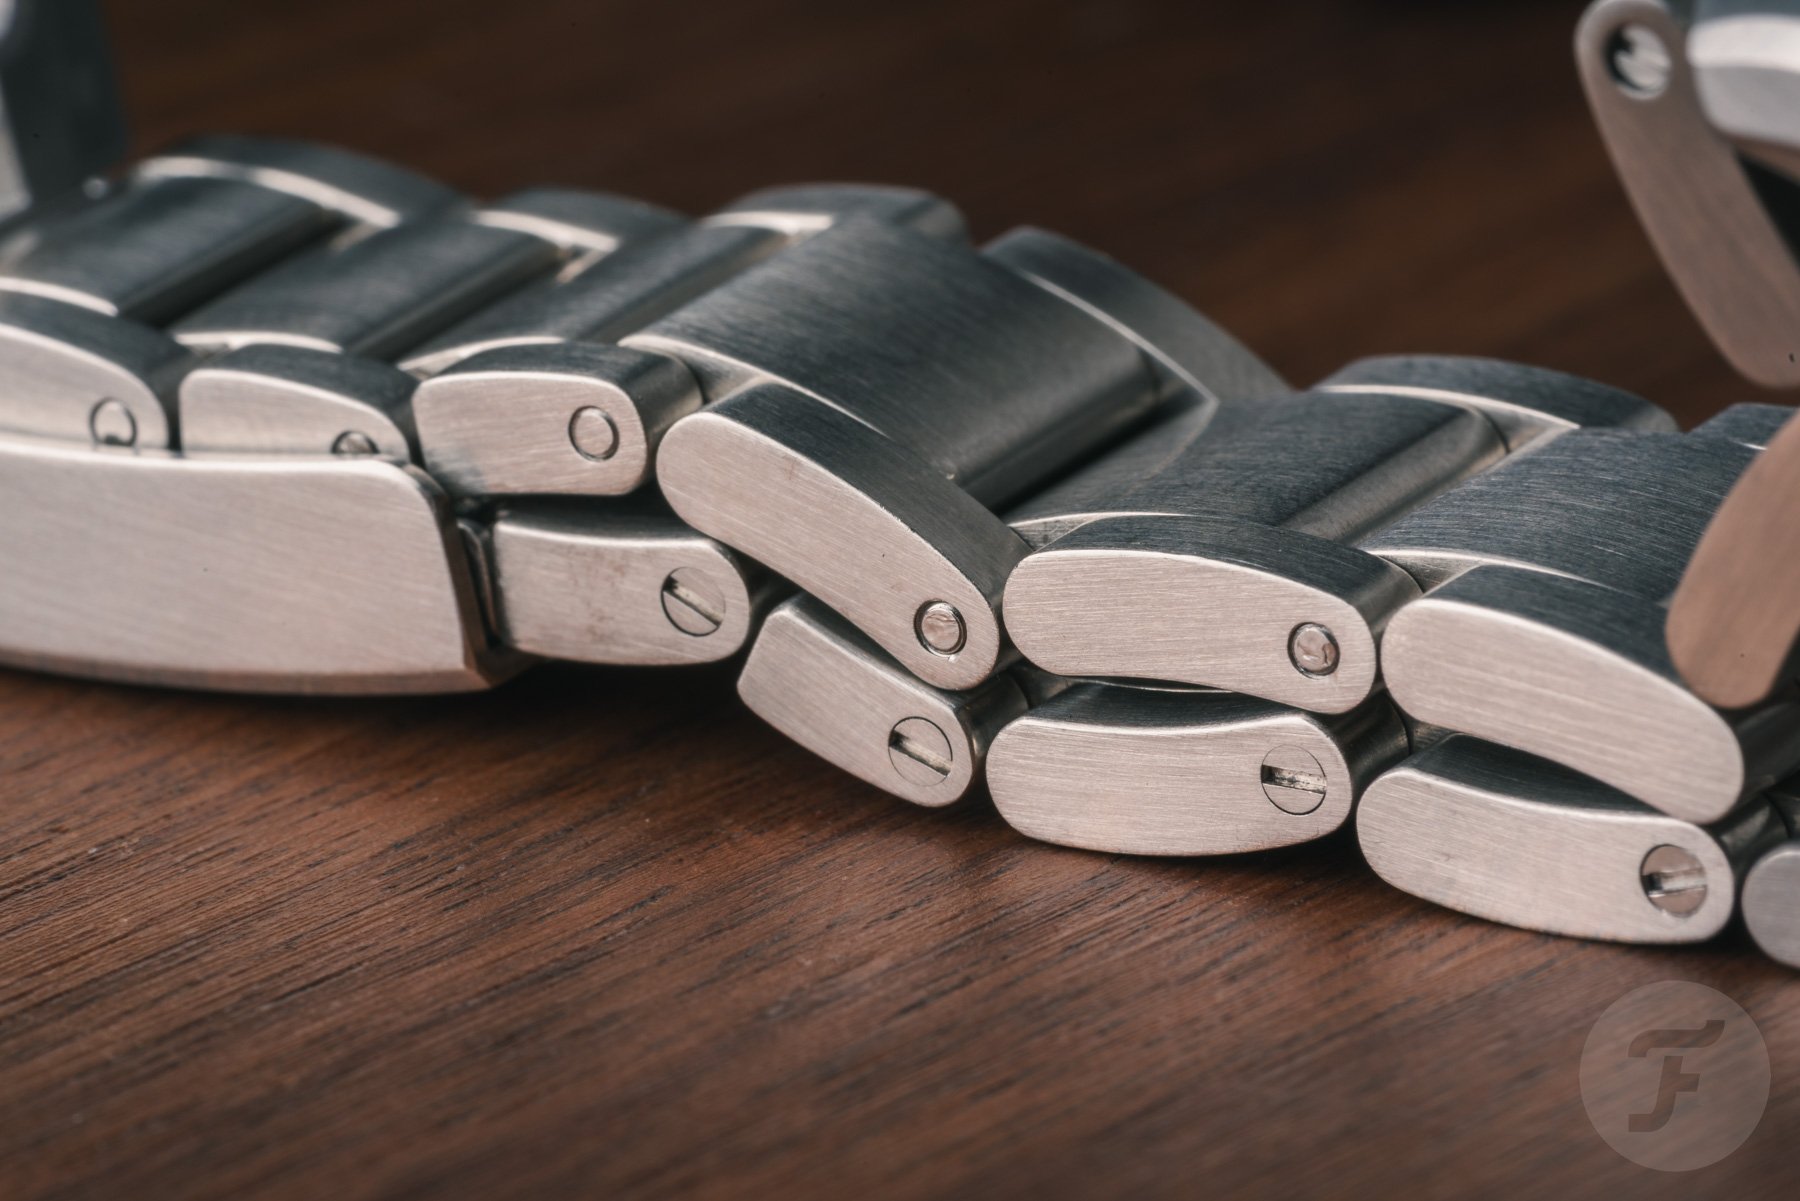
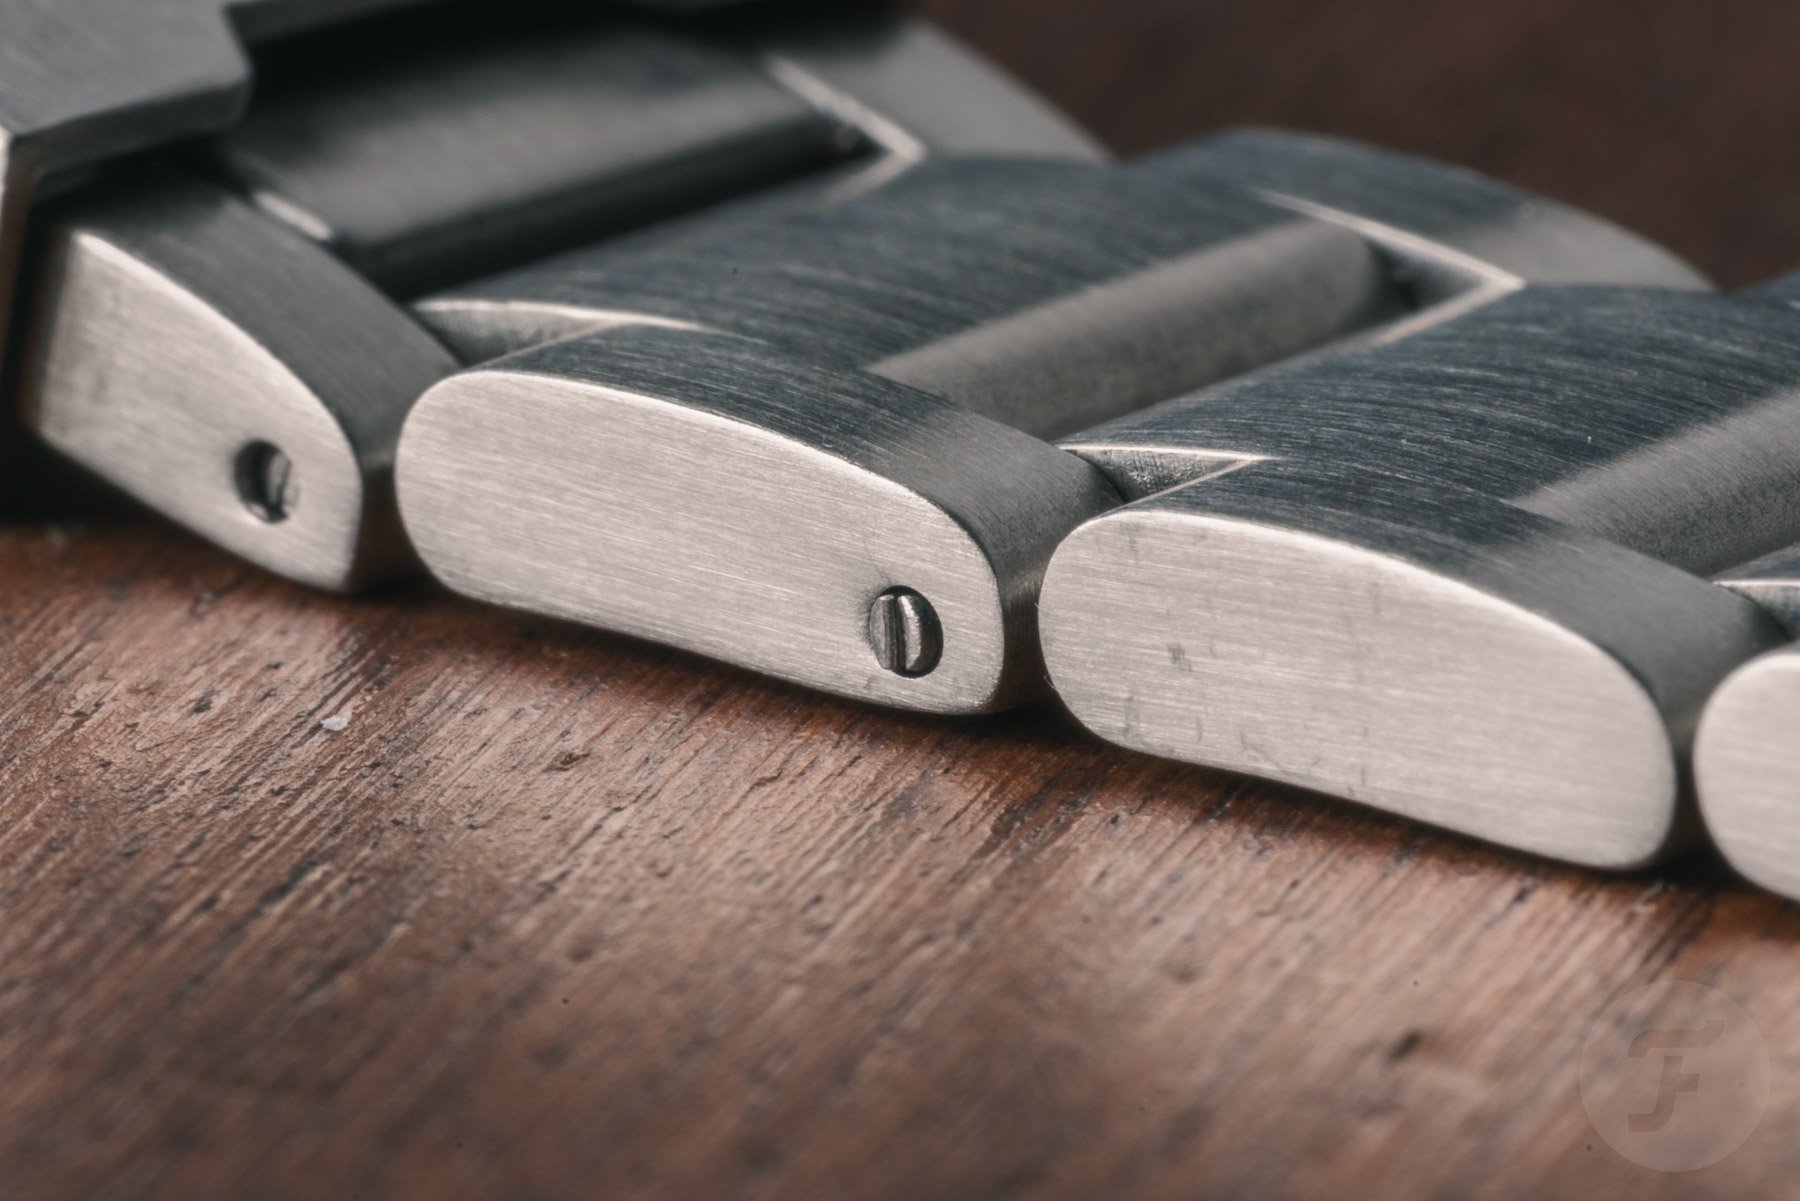
One side of the flat head slot recognizes one side screws and the other smooth tip
Watch Bracelet Size – Link with one-sided screw
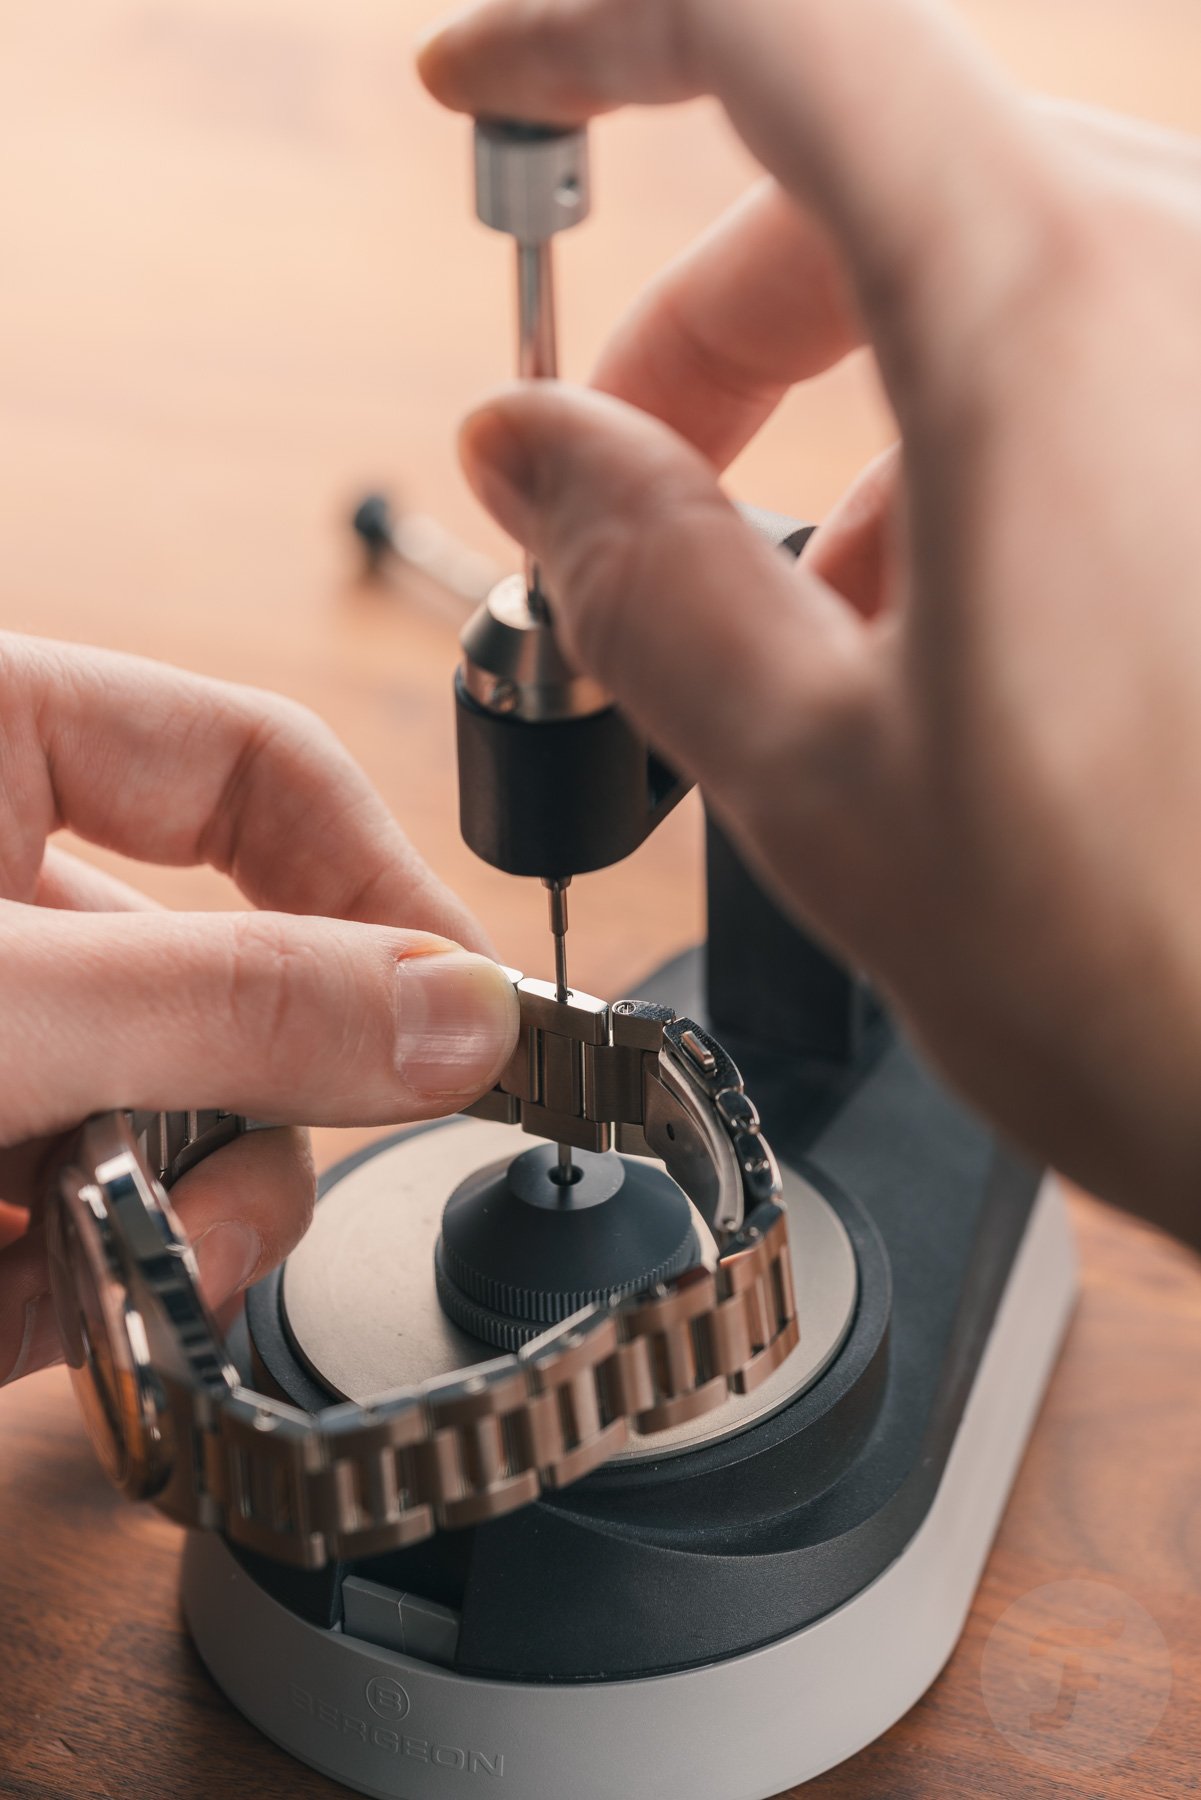
If you see the heads of small flat head screws on the sides of the bracelet, you may be able to use them to size the watch bracelet. First, check if the screw head is restricted to one side (if you see flat heads on both sides of the screw, we’re dealing with the links of double-sided screws to cover. This is the biggest one for you. Grip and reduce the chance of damage to the screws.
Next, secure the bracelet with the head of the screw facing up. You can use a sturdy grip with small plastic watch holders, bad or weak hands. If you are using a side, be sure to protect the bracelet from scratches. Next, place the screwdriver in place on the screw. Next, place your index finger on the top of the rotating screwdriver and use your thumb and middle finger to turn it. Apply pressure to prevent slipping and maintain a straight angle on the bracelet. The screws should loosen.
If not, it could probably be glued. In that case, your best bet is to dunk the bracelet (not the entire watch) with boiling water for a few seconds. Be careful to cool it down before touching it again. But this will likely break the bond. Use the techniques mentioned above to screw in the remaining links. If necessary, you can place a drop of loctite on the screw end to secure it in place, but there is nothing you need for a bracelet.
If you have a budget, such a tool is much easier to use than the secondary and two loose drivers
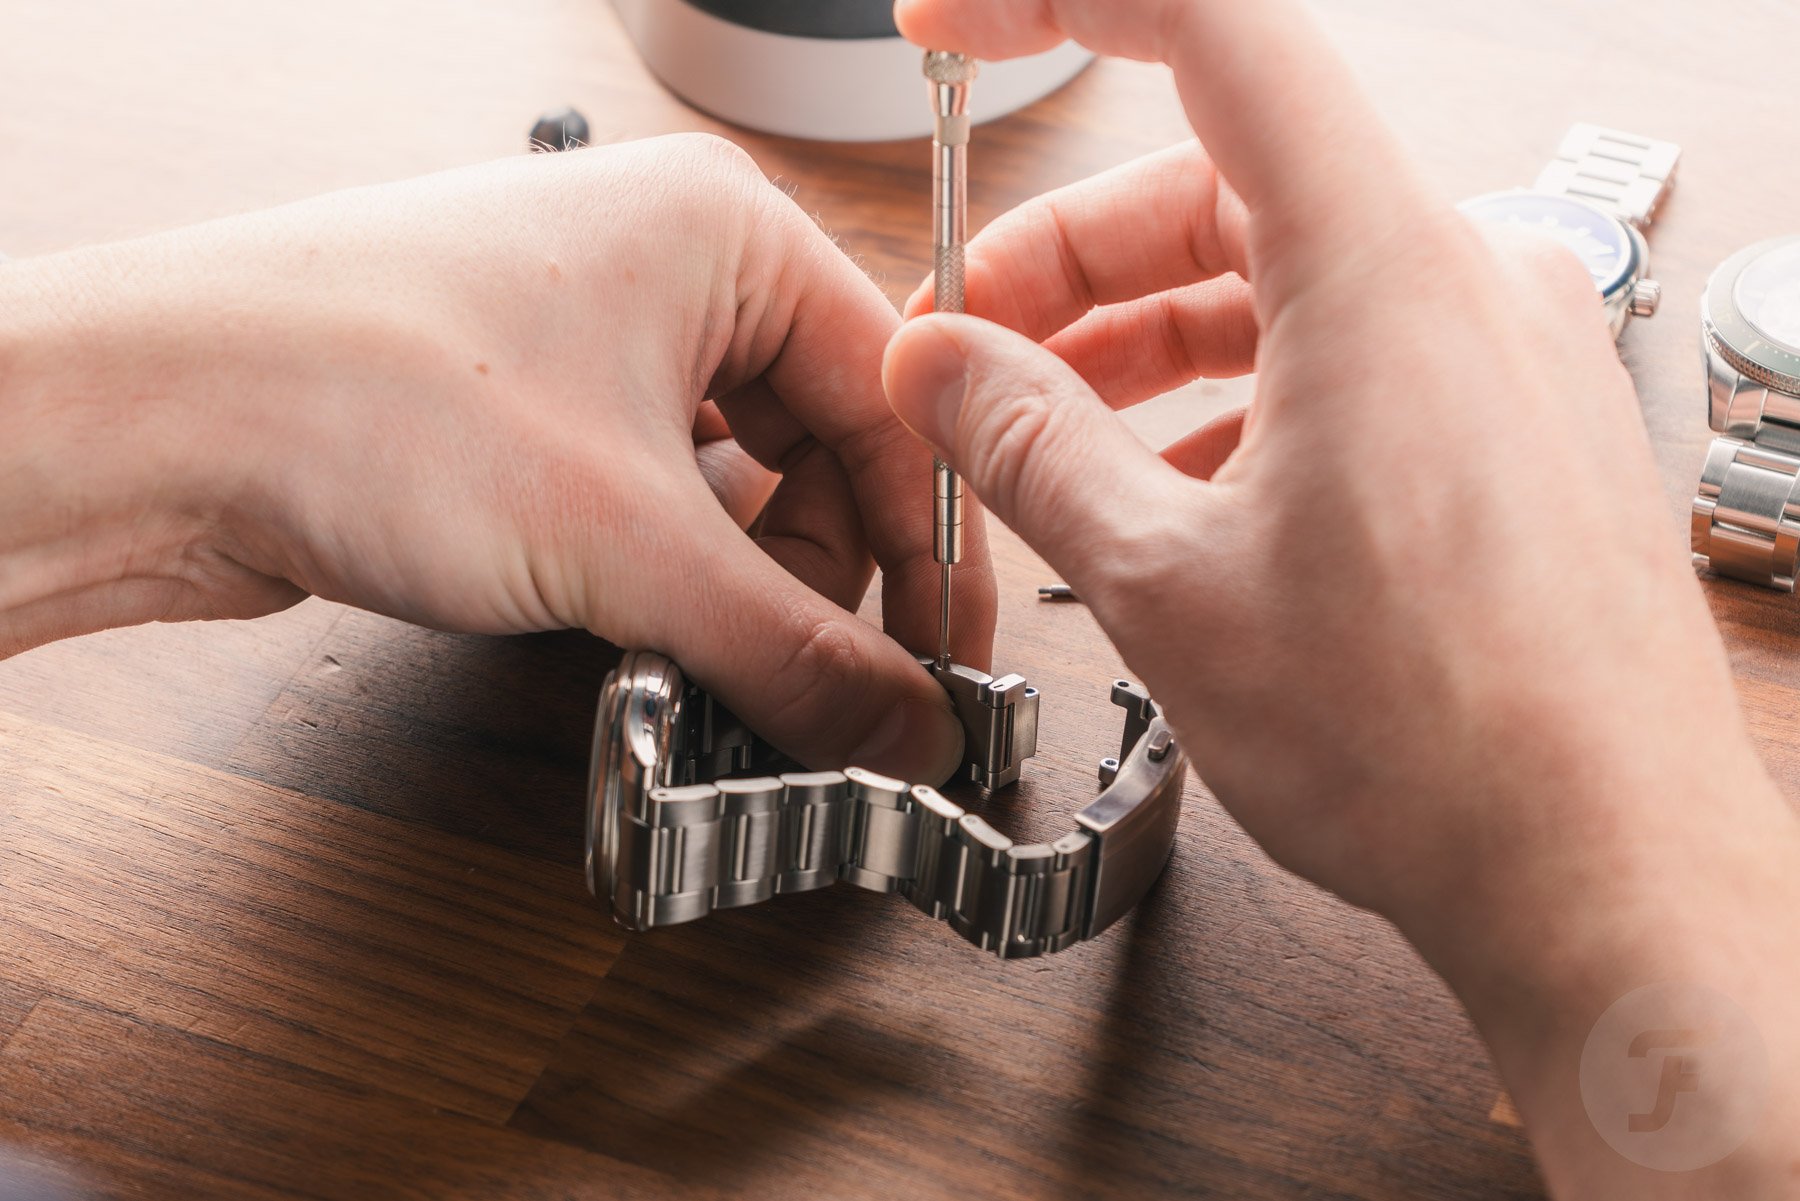
Double-sided screws
Congratulations if you find flat heads on either side of the screw! You just raised the most annoying and toughest bracelet style to the size. To remove such a link, you need to come to the screws with screwdrivers on each side. Your best bet is to remove the entire bracelet from the watch before doing this.


Next, you need a sub. Place one screwdriver firmly into the secondary and turn its tip up. Place the tip into the head of the screw and place the bracelet on its side on top of your gimmick. With the second screwdriver in the dominant hand, hold it with one hand while carefully removing the top screw.
Place something under the sub to catch the lower half of the screw as it falls when lifting the watch. Screw the required links reverses the same process. You need to be extremely careful.
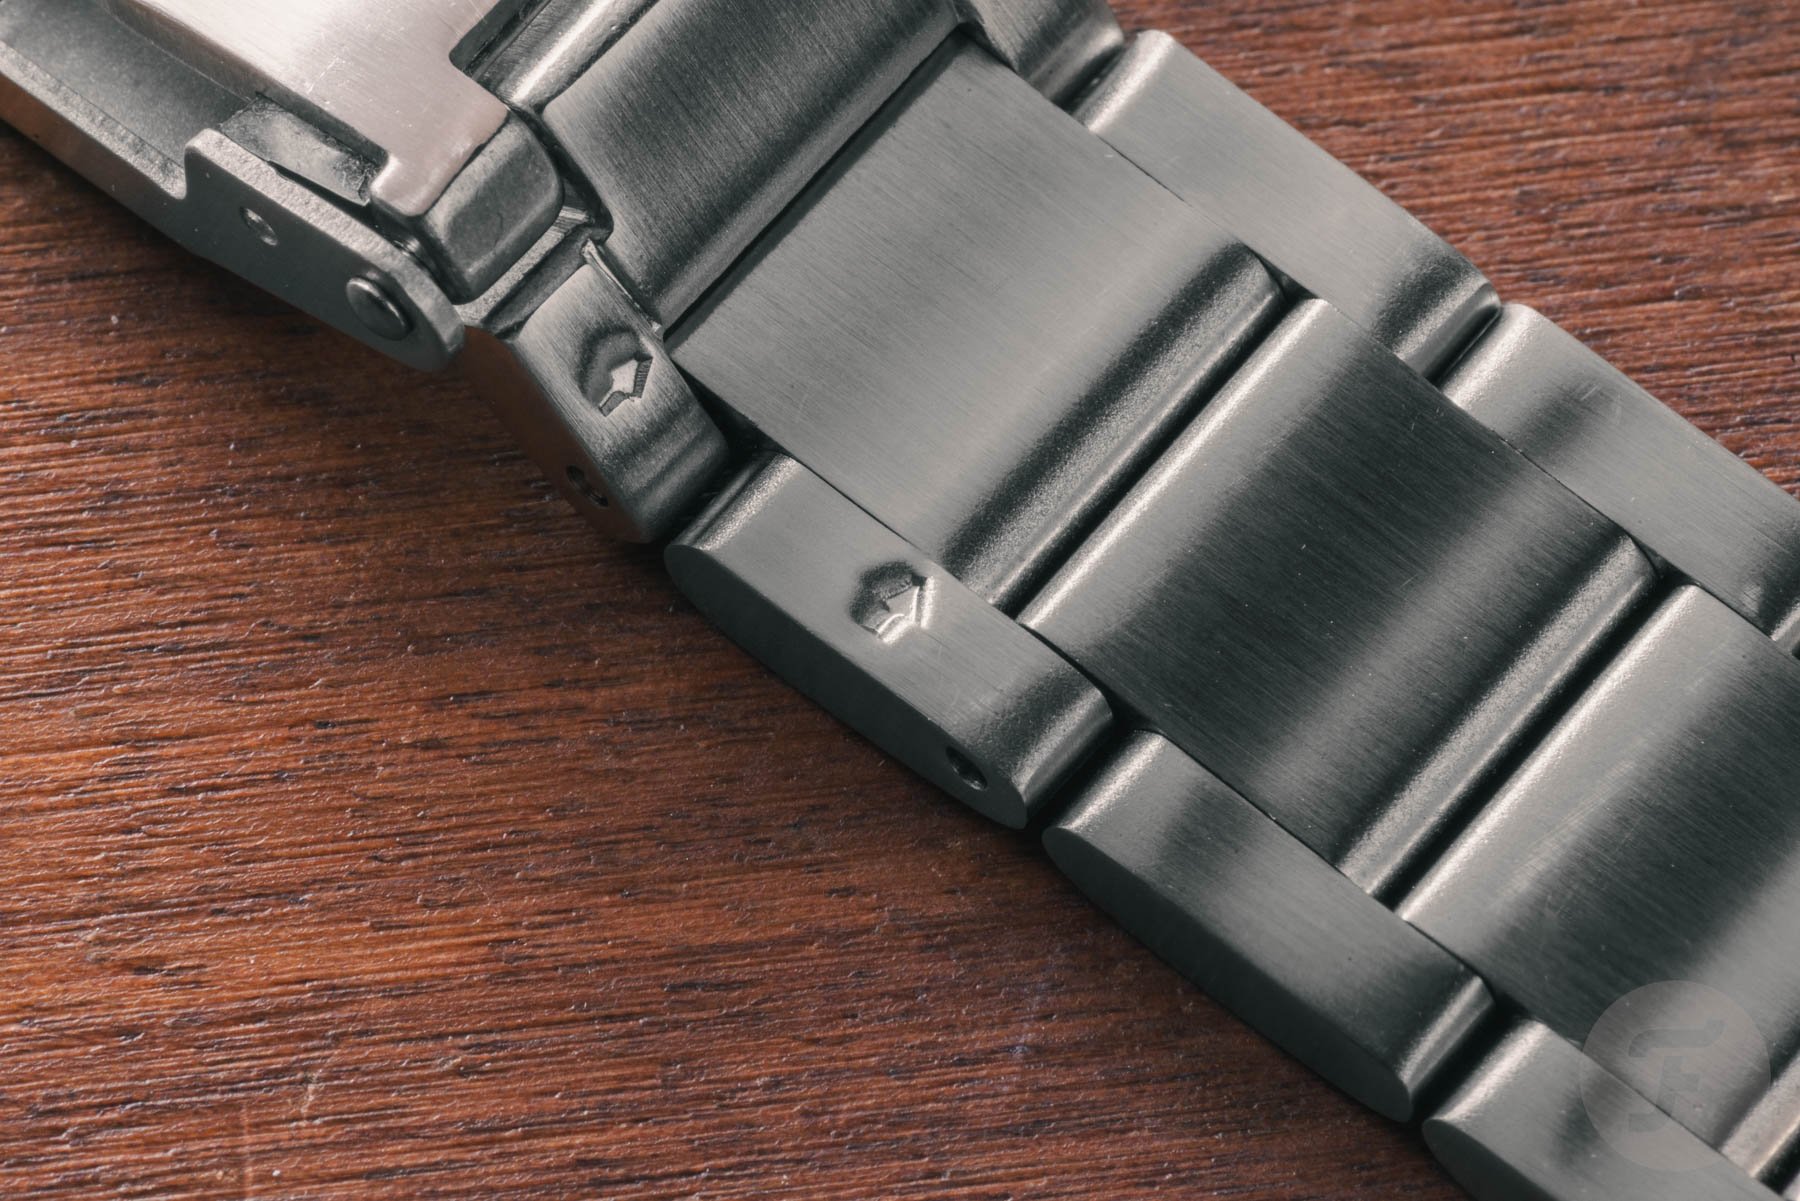
They look like screw heads, but if they’re a little too small and not pretty, they’re probably split pins
Size watch bracelet with split pins
Split pins are found in more affordable watch bracelets. If you know what you’re doing, they have a simple size. Split pins have similar straight lines on their heads, which can be seen at first glance like screws. But it’s probably a little too small and a bit too messy to become a screw. Also find a small arrow inside the bracelet to indicate the direction in which you want to punch the split pin. This is a dead prize, as such markings do not appear on screw-in bracelets.
Again, you need a watch owner or a vice. This time, the bracelet must be positioned with an arrow pointing towards the owner or vice. It punches the pins on the bottom side, so make sure to place them on top of the hole in the holder. Next, you’ll need something that fits in the hole, such as a stump hand, an unfolded paper clip, or, preferably a correct split pin punch for a watch. Use a light or nylon head hammer to tap the pin. Reassembly is as simple as pointing the split pin in the direction of the arrow. Lightly tap with the same hammer until it is washed off on the side of the bracelet. You can place tape on it to prevent the hammer from scratching the bracelet.
Alternatively, you can use a small watchmaker bracelet punch. This will allow you to lay the bracelet flat on a small plastic vise and screw the punch in until you press the pin. One suitable tool will make the magic work, but most are cheap and break quickly when you put pressure on it. If you are planning to size more bracelets in the future, buy something appropriate like Belgeon.
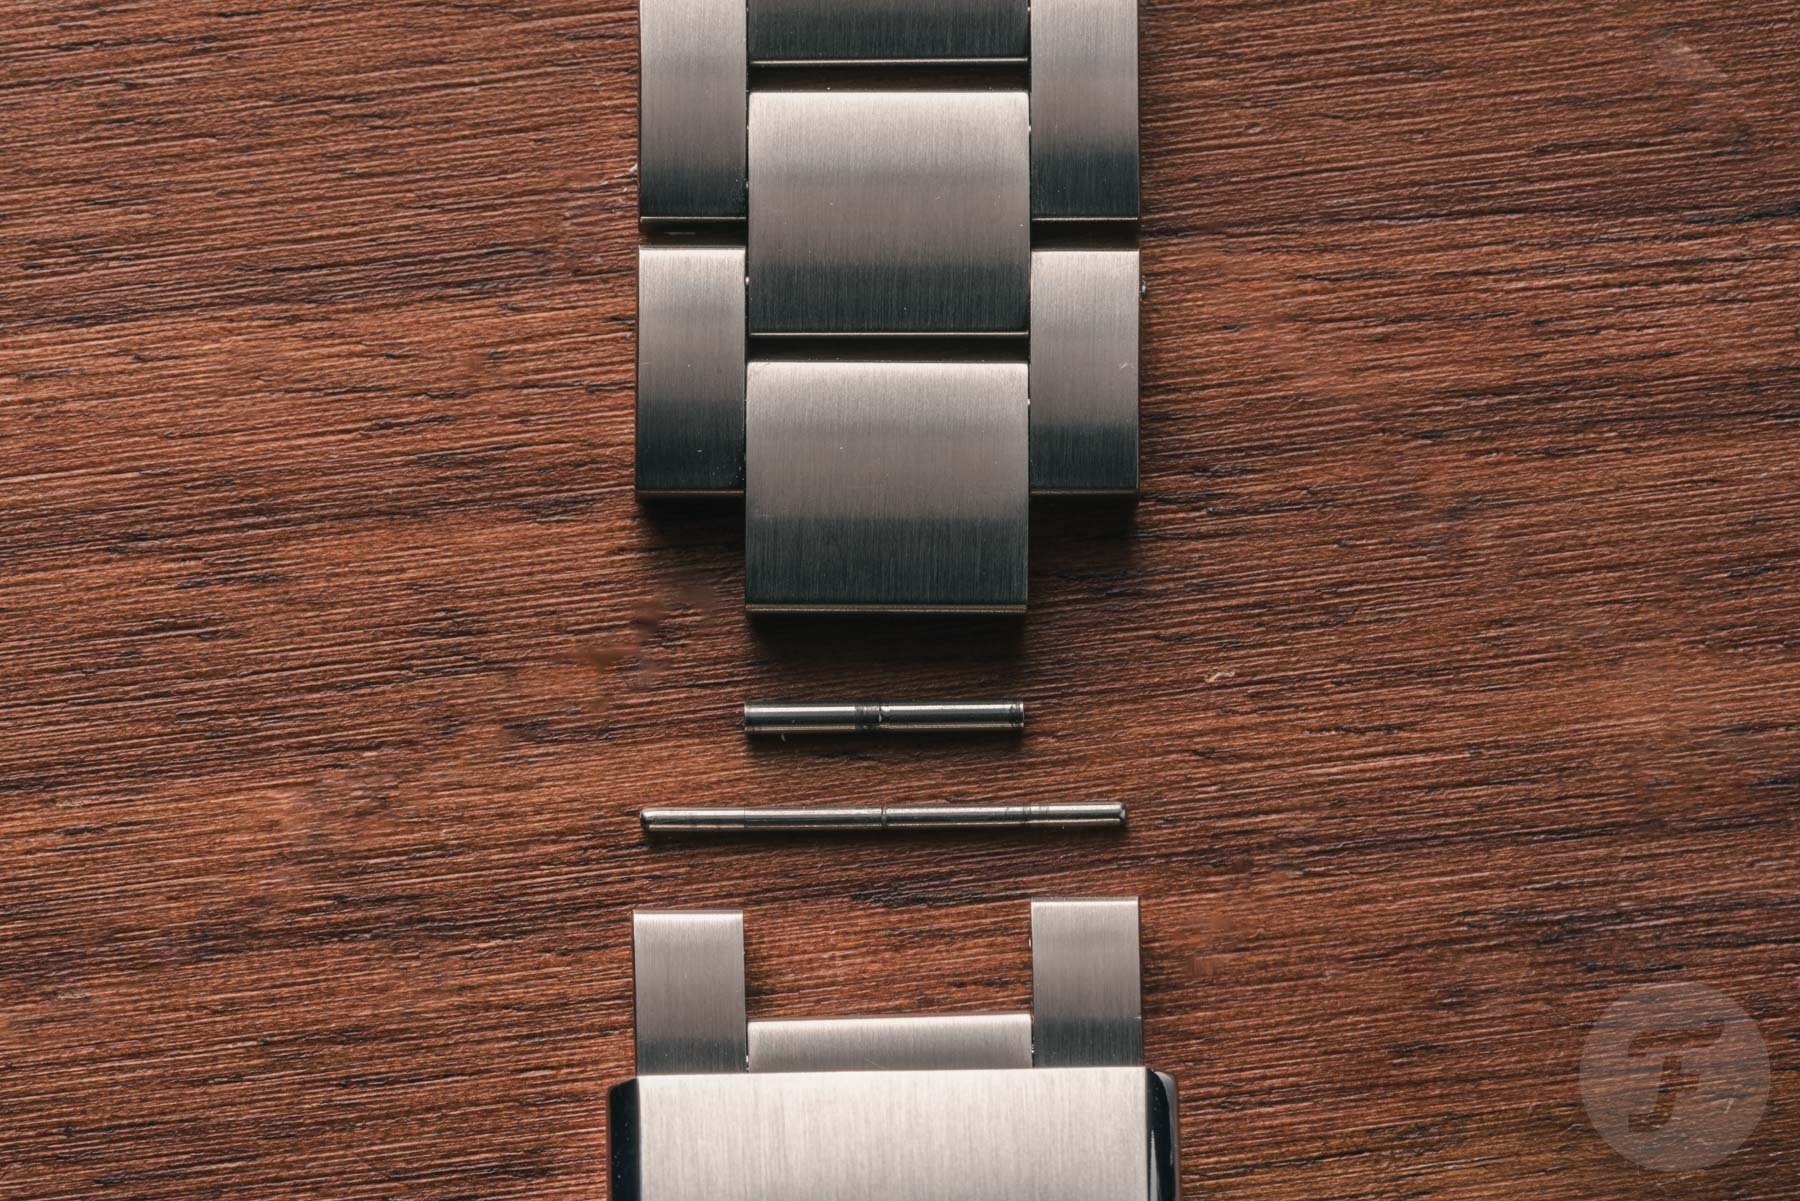
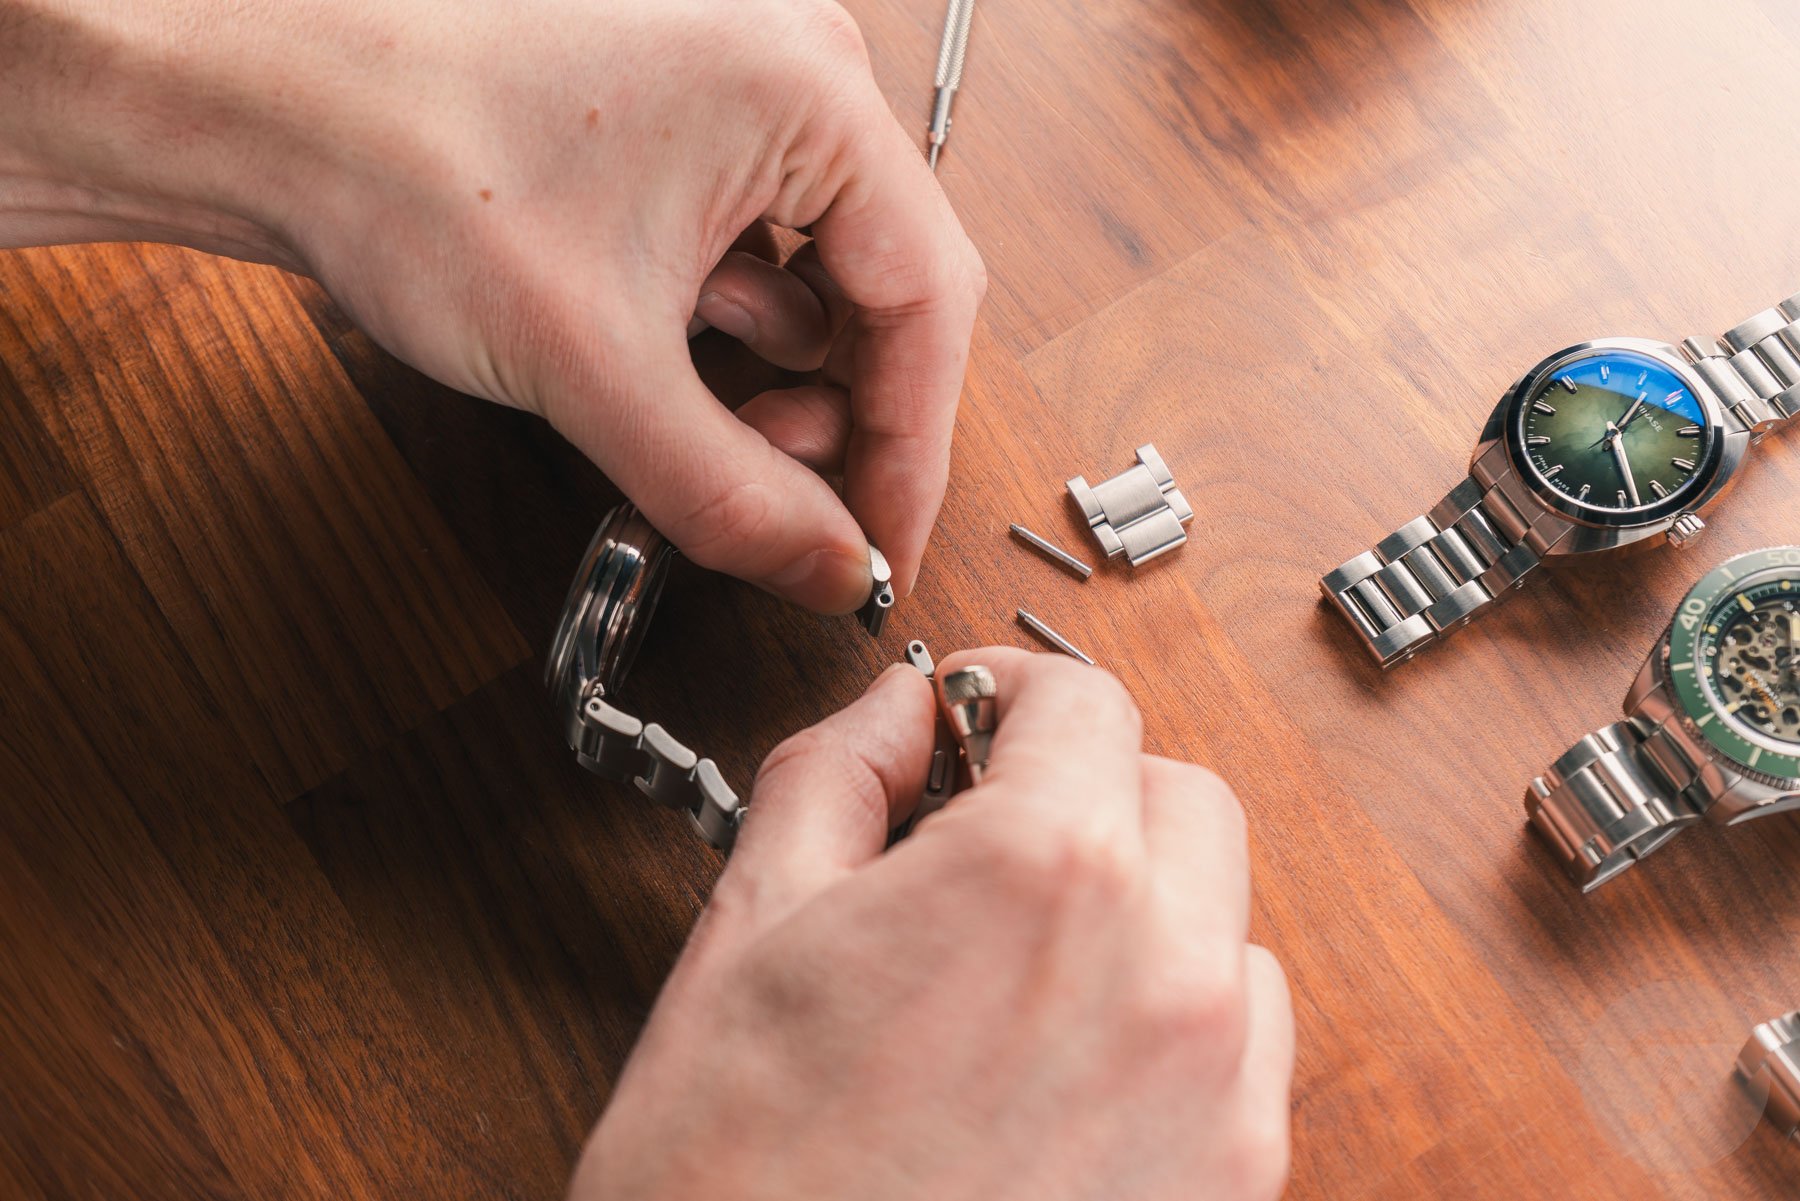
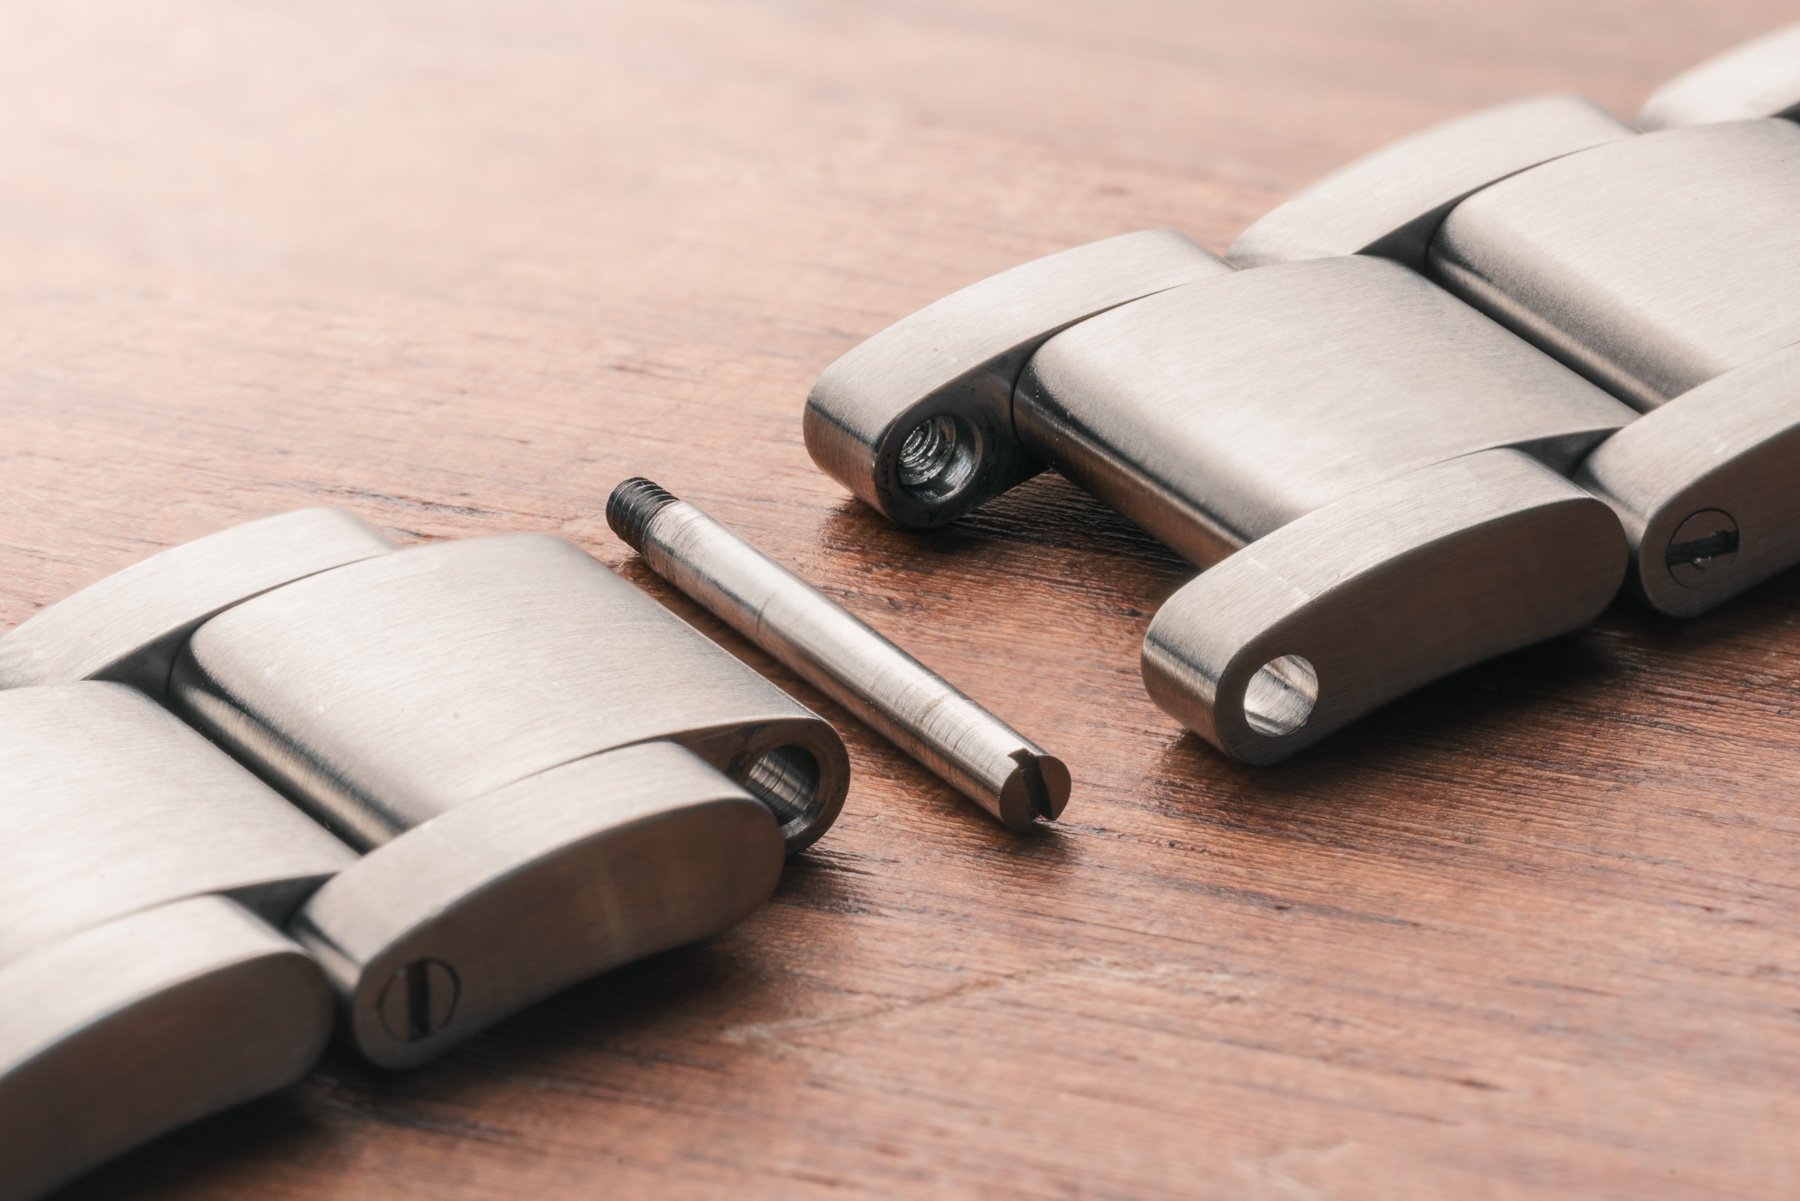
Pins and collar
Finally, we cover the pin and colour setup. If your bracelet has any of these, you will see round pins on the sides without screw heads or split surfaces. They may have arrows inside the bracelet. If not, you can punch out from either side.
The central pin is usually held in place by a small metal tube located at the center link of the bracelet. Remove these links in the same way as the split pin variant above. However, punching out the pin is likely to cause the central tube (collar) to fall off, so step on carefully. It is necessary for reassembly, so be sure to catch it if it falls.

Reassembly requires you to put the collar back in before punching the pin. You may not like this, but otherwise follow the same recipe as the split pin. If you are very unlucky, you may find that your bracelet has two collars per pin. If so, take your time and carefully check where each collar goes. Important note: If you place the collar the wrong way, you may not be able to grip the pin. Always test your reassembly by pressing pointy objects against the pins. It should not be easy to slide. If so, disassemble it again and reverse the collar.
So you dropped and lost a small part?
Here is one last pro tip if you lose one of these nasty pins, screws or collars. Place your pantyhose firmly on the nozzle of the vacuum cleaner and secure it with a rubber band. Vacuum the area around your workspace and the parts should appear right there in your pantyhose! If that’s not you, ask the owner of the pantyhose for permission.
Finally, there is no shame in knowing your weaknesses. If all of this is too detailed for you, go to a local watchmaker or jeweller. After all, many of these mechanisms were not intended for consumers to use. My advice is to make it clear that you will pay for the job. Few things bother jewellers than cleaning up the mess left behind by online only retailers and those who assume they do that.
Good luck and happy sizing! And for more experienced readers, share the bracelet sizing tips below!